Create a Kubernetes cluster in your Windows computer in a few minutes!
Installing Multipass
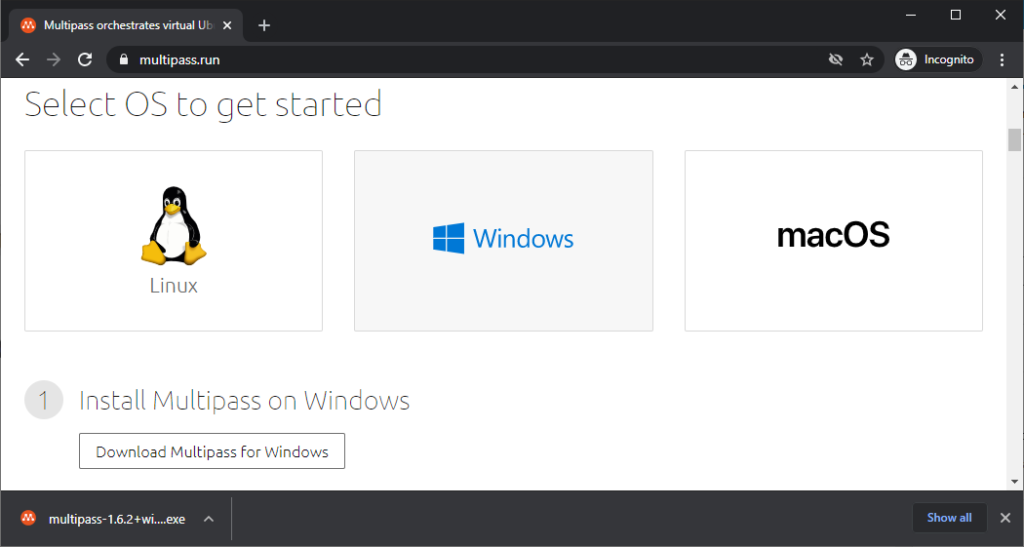
First of all, let’s install Multipass. Access the official website (https://multipass.run/), select Windows OS and click in “Download Multipass for Windows”.
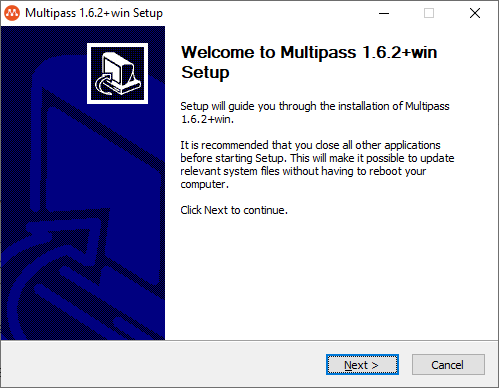
Now, run the installer.
In the Welcome window, click in Next.
In the License Agreement, click in “I Agree”.

In Hypervisor window, left Microsoft Hyper-V checked and click in Next.

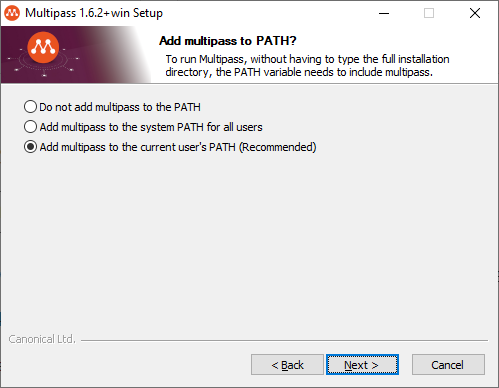
In the “Add multipass to PATH” window, click in Next.
In “Choose Install Location” window, click in Next.

In “Choose Components” window, click in Install.

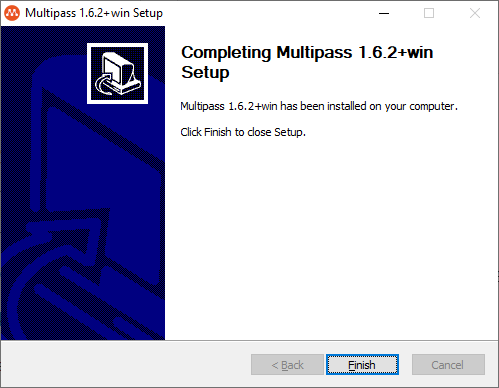
When the setup is completed, click in Finish.
Creating a Virtual Machine
Now, let’s create our first Virtual Machine, open the PowerShell and run the following command:
multipass launch -n k8s -c 2 -m 2G -d 20GThis command will create an Ubuntu virtual machine named “k8s” with 2 CPU cores (-c), 2GB of memory (-m) and 20GB of disk (-d).


To check the configuration of the virtual machine that we created, run the command:
multipass info k8s
To list all virtual machines created, run the command:
multipass list
Installing MicroK8s
Now that we have our virtual machine ready, let’s install the MicroK8s on it!
To do that, run the following command:
multipass exec k8s -- sudo snap install microk8s --classic --channel=1.18/stable


Now we have to add the user ubuntu to microk8s group, to do that, run the following command:
multipass exec k8s -- sudo usermod -a -G microk8s ubuntu
And then, change the user for the .kube folder.
multipass exec k8s -- sudo chown -f -R ubuntu ~/.kube
If you need to access the virtual machine shell, run this command:
multipass shell k8s
When can interact with the kubernetes cluster using the kubectl command installed in the k8s virtual machine, you just need to run this command:
multipass exec k8s -- /snap/bin/microk8s.kubectl get nodes
Now is time to create our first pod. Let’s deploy a NGinx image in our cluster. To do that run this command:
multipass exec k8s -- /snap/bin/microk8s.kubectl create deployment nginx --image=nginx
Let’s check our pods…
multipass exec k8s -- /snap/bin/microk8s.kubectl get pods
Now let’s get the kubernetes config file. Doing that we can run kubectl commands from our machine directly.
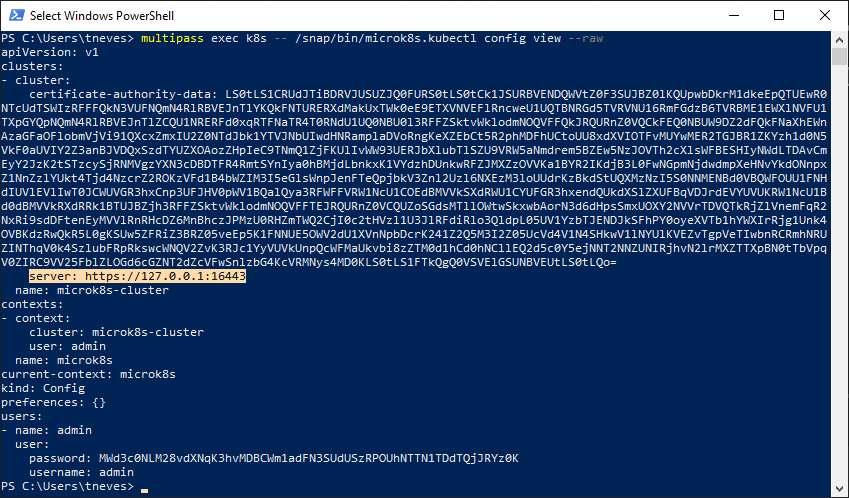
multipass exec k8s -- /snap/bin/microk8s.kubectl config view --raw
Copy this content and paste in the file c:\Users\<Your_User>\.kube\config .
PS: If you don’t have kubectl installed in your windows machine, follow this steps to get it done: https://kubernetes.io/docs/tasks/tools/install-kubectl-windows/
As you can see, the server address is pointing to 127.0.0.1, so we need to change that to our ubuntu virtual machine IP address.
To get the virtual machine IP address, run this command:
multipass info k8sOr…
multipass list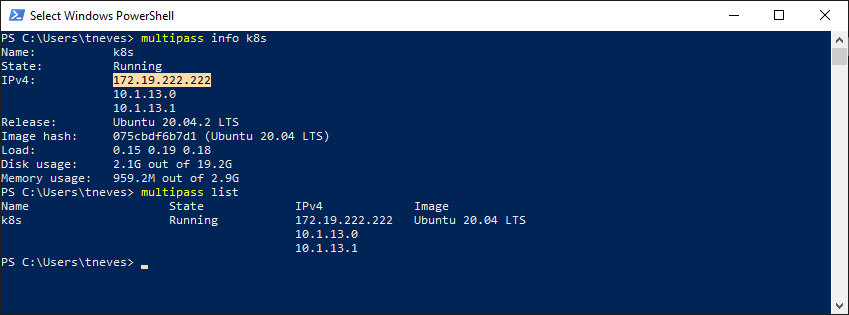
Replace the localhost (127.0.0.1) IP address with your ubuntu IP address in the c:\Users\<Your_User>\.kube\config file.
Now we can run kubectl commands directly from our PowerShell..

To access the NGinx web page, we need to create a port forward from our computer to the pod.
kubectl port-forward pod/nginx-f89759699-kbnpb 80:80
Now open http://localhost in your browser.
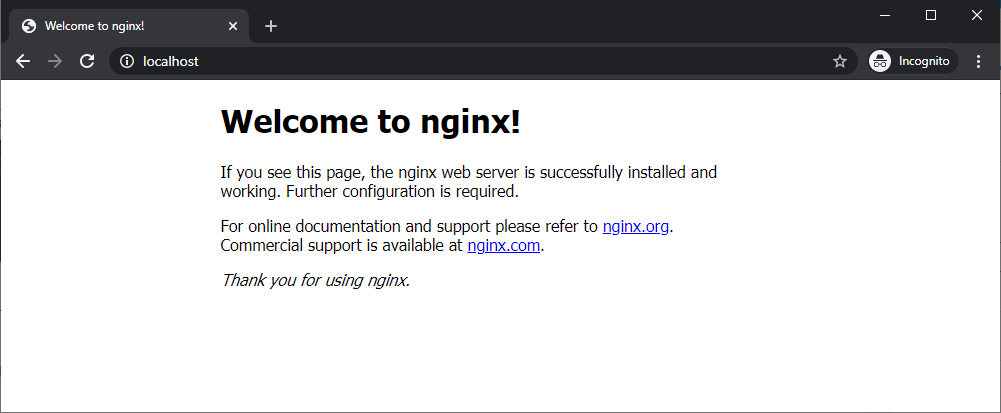
Success!!!!!
Adding nodes to our cluster
To add another node to our cluster, first we need to create a new virtual machine like we did before:
multipass launch -n k8s2 -c 2 -m 2G -d 20G
multipass exec k8s2 -- sudo snap install microk8s --classic --channel=1.18/stable
multipass exec k8s2 -- sudo usermod -a -G microk8s ubuntu
multipass exec k8s2 -- sudo chown -f -R ubuntu ~/.kube
Now let’s get the command to add a node to the cluster:
multipass exec k8s -- /snap/bin/microk8s add-node
Now we have to run this command in the k8s2 virtual machine:
multipass exec k8s2 -- /snap/bin/microk8s join 172.19.222.222:25000/EvaHJiotpFdEljCvOqBgjNziEVbHTyTt
PS: Don’t forget to replace the IP address and the code to your own!
Let’s check our cluster now…
kubectl get nodes
To remove a node from cluster, run this command:
multipass exec k8s — /snap/bin/microk8s remove-node k8s2


Deleting a Virtual Machine in Multipass
Run the command “multipass list” to check all your virtual machines.

To delete a virtual machine, run the command:
multipass delete k8s2
The virtual machine will be marked as deleted

But you can recover it running the command:
multipass recover k8s2And then…
multipass start k8s2
To really delete the virtual machine from your computer, you have to run two commands:
multipass delete k8s2
multipass purge
That’s all folks!!!